block.json is the one file that defines a custom Gutenberg block. Learn the fields that matter, how to register blocks in PHP and how to load assets only where needed.
Every custom Gutenberg block should start with one file: block.json. It tells WordPress the block's name, its attributes, which scripts and styles belong to it, and how to render it. If your block still registers its assets by hand, you are building it the old way, and your visitors pay for it in page weight.
I see this regularly when I take over existing WordPress projects. The block works in the editor, but its CSS and JavaScript load on every page of the site, whether the block is there or not. A proper block.json fixes that without extra code.
This guide shows how I set up block.json in client projects: the fields that matter, how to register the block in PHP, how to load assets only when the block is used, and the mistakes I fix most often.
Where block.json Lives
Each block gets its own folder with a block.json at the root. In a plugin built with @wordpress/scripts, the source files sit in src/ and the build output goes to build/. The build step copies block.json into build/, and that copy is the one WordPress reads.
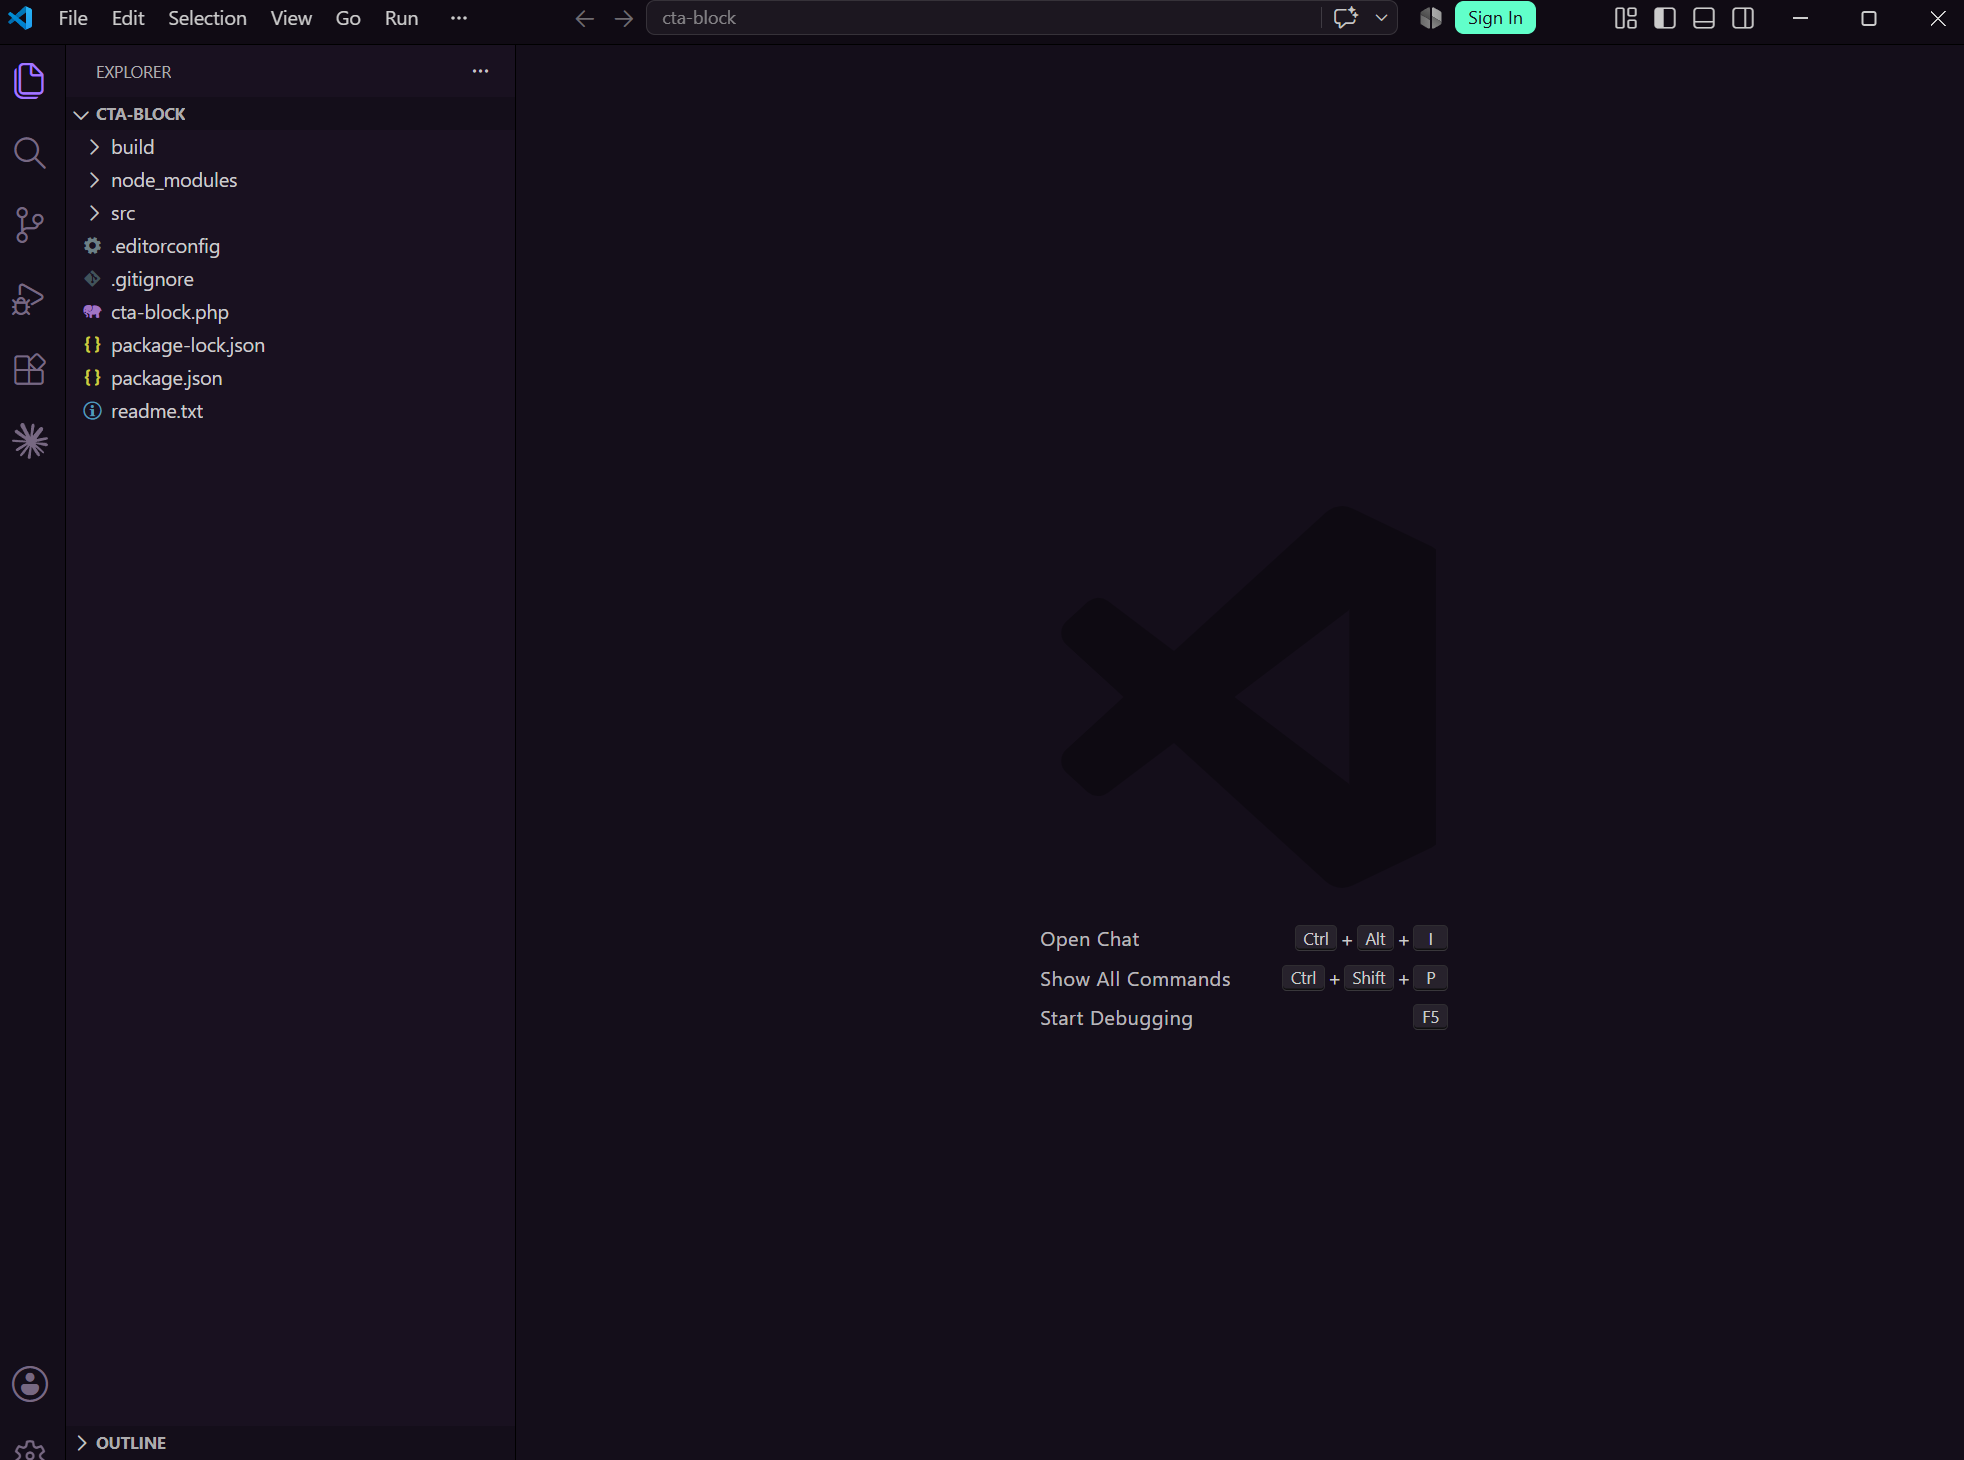
A typical block folder holds:
block.json: the block's definitionindex.js: registers the block in the editoredit.jsandsave.js: the editor interface and the saved markupstyle.scssandeditor.scss: frontend and editor-only stylesrender.php: the server-side template, for dynamic blocks only
Keep one block per folder. When a plugin has several blocks, each folder has its own block.json, and the plugin registers them in a loop.
A Minimal block.json
Here is a small, complete example for a call to action block:
{
  "$schema": "https://schemas.wp.org/trunk/block.json",
  "apiVersion": 3,
  "name": "ekener/cta",
  "version": "1.0.0",
  "title": "Call to Action",
  "category": "design",
  "icon": "megaphone",
  "description": "A headline, short text and a button.",
  "textdomain": "ekener-blocks",
  "attributes": {
    "heading": { "type": "string", "default": "" },
    "buttonUrl": { "type": "string", "default": "" }
  },
  "supports": {
    "align": ["wide", "full"],
    "color": { "background": true, "text": true },
    "spacing": { "padding": true }
  },
  "editorScript": "file:./index.js",
  "editorStyle": "file:./index.css",
  "style": "file:./style-index.css"
}
The fields that matter most:
$schema: gives your editor autocomplete and validation for the whole file. It costs one line, and I include it every time.apiVersion: use 3, the current version. It loads the block inside the iframed editor, so its styles stay isolated from the admin interface.name: a uniquenamespace/block-name. It must match everywhere the block is referenced, including your JavaScript and any saved content.attributes: the data the block stores. Give every attribute atypeand adefault.supports: turns on core features such as colour, spacing and alignment. Use these instead of writing your own controls. You get tested UI, theme.json integration and less code to maintain.textdomain: needed for translating the strings in the file.
Registering the Block in PHP
Once block.json exists, registering the block takes one function call. Point register_block_type() at the folder that contains the file:
function ekener_register_blocks() {
    register_block_type( __DIR__ . '/build/cta' );
}
add_action( 'init', 'ekener_register_blocks' );
WordPress reads block.json, registers the block and its scripts and styles, and handles the asset dependencies and versions for you. You do not call wp_register_script() or wp_enqueue_script() yourself.
In the editor script, import the metadata and pass it along:
import { registerBlockType } from '@wordpress/blocks';
import metadata from './block.json';
import Edit from './edit';
import save from './save';

registerBlockType( metadata.name, { edit: Edit, save } );
Registering on the server is not optional if you want the block's assets to load conditionally. It is also required for dynamic blocks. I register every block in PHP, even simple static ones.
Loading Assets the Right Way
This is the part that matters for performance. block.json has separate fields for each place an asset can load:
| Field | Loads in | When |
| --- | --- | --- |
| editorScript | Editor | When the editor loads |
| editorStyle | Editor | When the editor loads |
| style | Editor and frontend | On the frontend only if the block is on the page |
| viewScript | Frontend | Only if the block is on the page |
| viewScriptModule | Frontend | Only if the block is on the page, as an ES module (WordPress 6.5 and later) |
The frontend rows are the important ones. A block's style and viewScript files load only on pages that actually contain the block. A slider block with 40 KB of JavaScript does not slow down your contact page.
Compare that with the old pattern: one wp_enqueue_script() call hooked to wp_enqueue_scripts, which loads the file on every request. That is one of the quiet reasons WordPress sites feel slow, and it is the kind of thing I look for in a performance audit.
Two practical tips:
- Put frontend interactivity in
viewScriptorviewScriptModule, never ineditorScript. Editor code should not ship to visitors. - Keep
editorStylefor editor-only rules, such as outlines and placeholders, so they never reach the frontend.
Dynamic Blocks with render
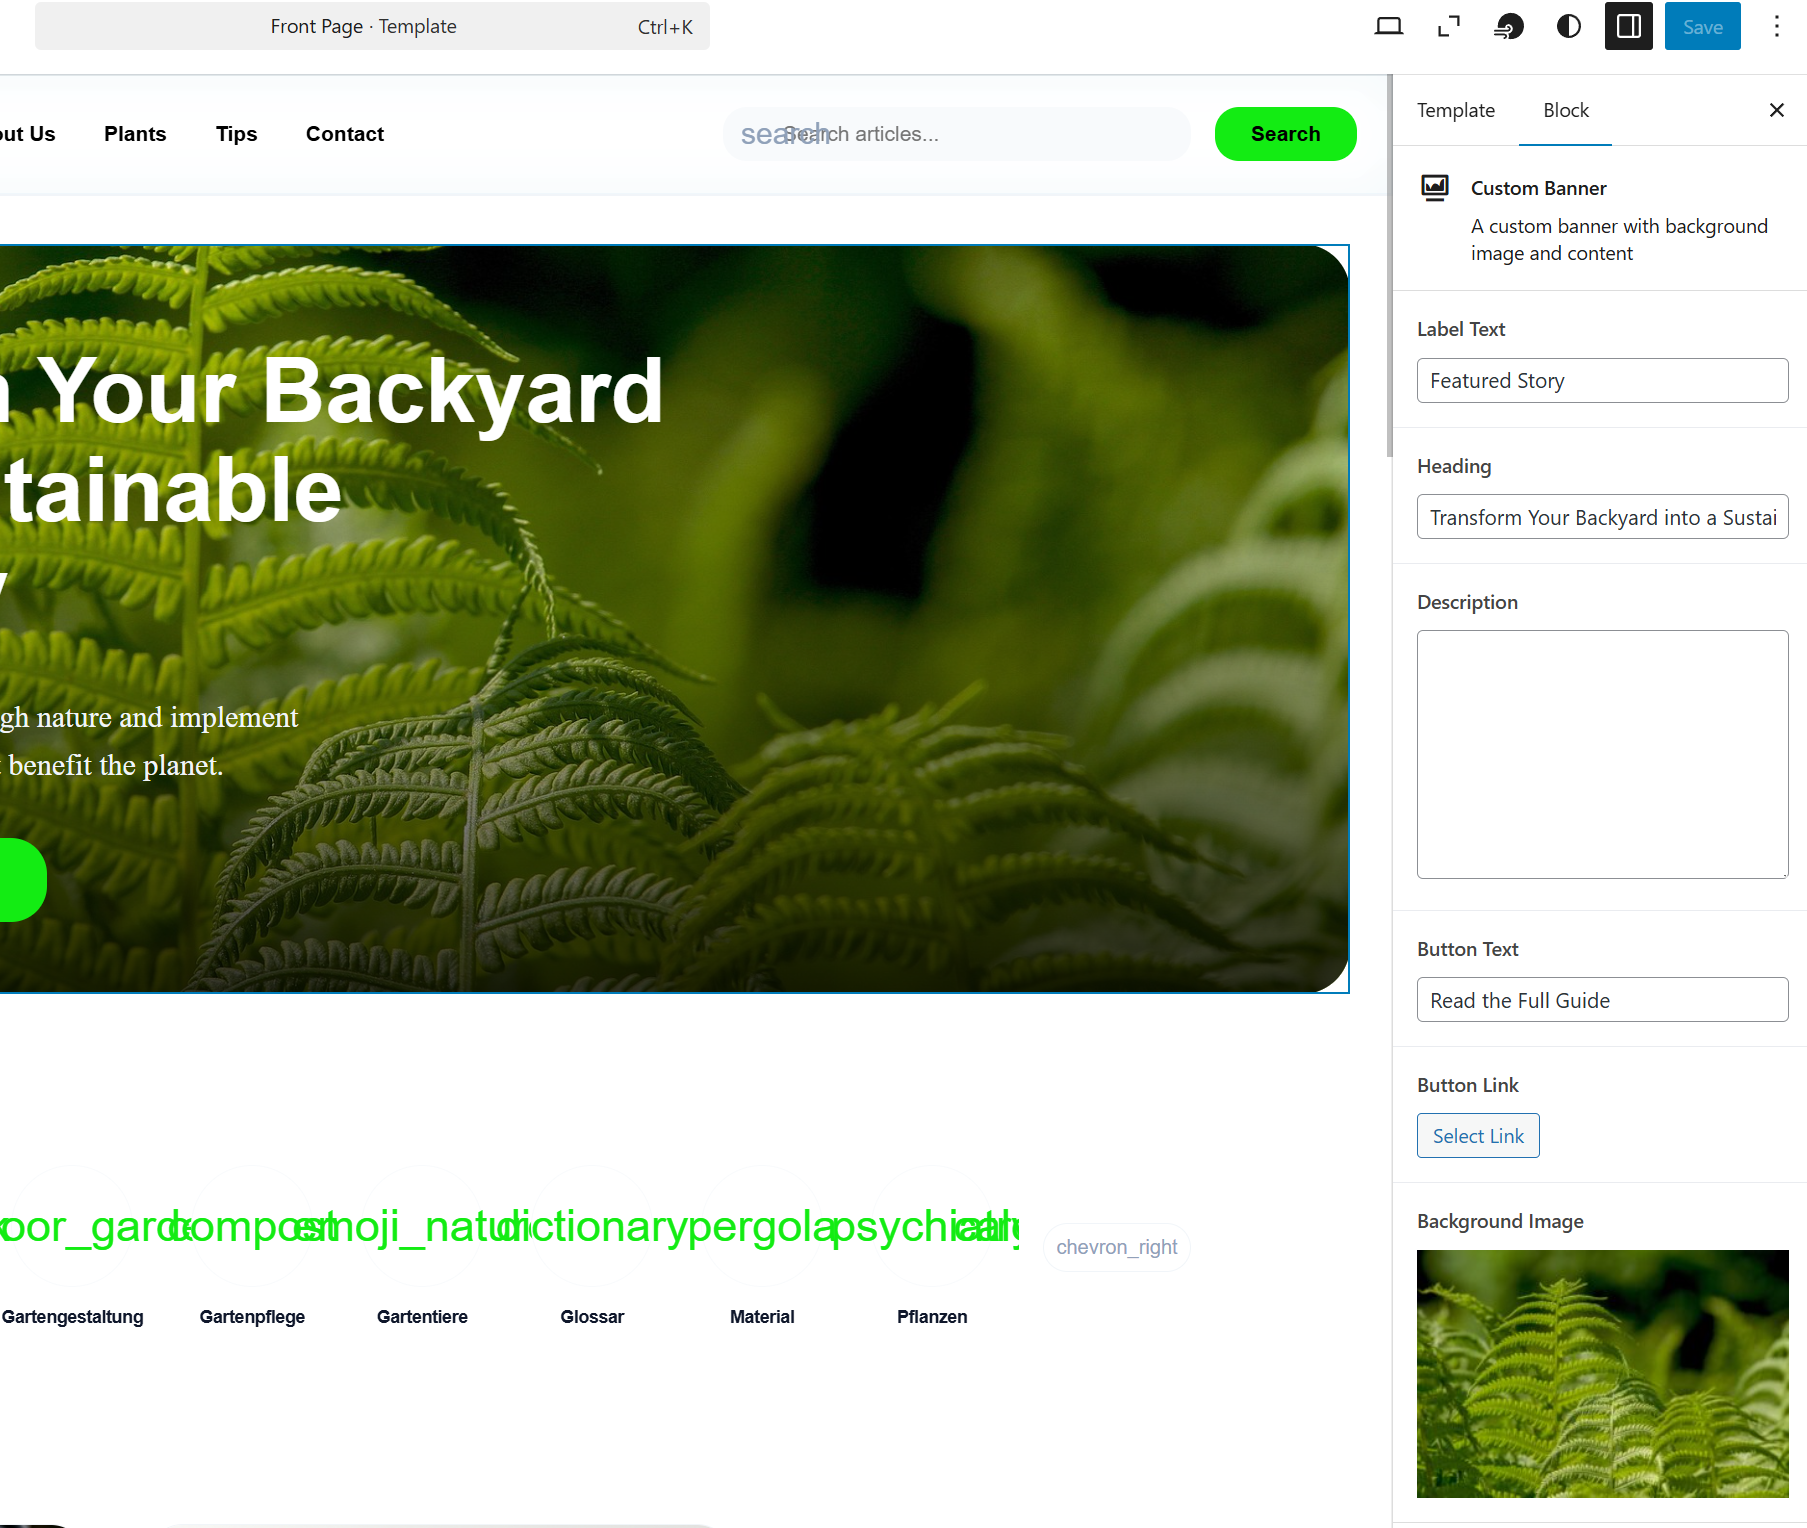
Some blocks should not save their markup in the database. A latest posts list, a price table that reads from post meta or a block that depends on the current user are better rendered on the server. For those, add a render field:
"render": "file:./render.php"
Then create render.php in the same folder:
<?php
$heading = $attributes['heading'] ?? '';
?>
<div <?php echo get_block_wrapper_attributes(); ?>>
    <h2><?php echo esc_html( $heading ); ?></h2>
    <?php echo wp_kses_post( $content ); ?>
</div>
WordPress gives the file three variables: $attributes, $content and $block. In the editor, save returns null for a dynamic block, so nothing is stored in the post content except the block comment and its attributes.
Two things I always do here. I call get_block_wrapper_attributes() so the block picks up its classes, alignment and the support settings from block.json. And I escape every value on output, because a dynamic block is PHP code running on the live site.
Common Mistakes
These are the problems I fix most often when I work on existing block plugins:
- Registering scripts by hand next to a block.json. The block already declares its assets. A second
wp_enqueue_script()call loads the same file on every page and undoes the main benefit ofblock.json. - A name without a namespace, or a name that differs between files. The block name must be
namespace/block-nameand identical inblock.jsonand everywhere else it appears. A mismatch gives you a block that shows as unsupported. - Pointing
file:paths atsrc/instead ofbuild/. The paths inblock.jsonare relative to the file WordPress reads. If you register thebuild/folder, the paths must match the built files. - Forgetting to rebuild. Editing
src/block.jsonchanges nothing until the build copies it. If a change does not show up, run the build before debugging anything else. - Attributes without a type or default. Untyped attributes behave unpredictably and make block validation errors harder to trace.
- Changing
saveoutput without a deprecation. Any change to saved markup breaks existing instances of the block. Add a deprecated version so older posts keep working. - Skipping
supports. Custom colour and spacing controls written from scratch add code and ignore the theme's settings. Most of the time asupportsentry does the same job better.
Wrapping Up
A good block.json makes a block easier to maintain and faster for visitors. It declares everything about the block in one place, registers with a single PHP function call and loads its assets only on pages that use it.
If you are new to block development, start with How to Build Your First Custom Gutenberg Block from Scratch and How to Create a Custom Block Plugin for WordPress. For blocks that contain other blocks, read How to Create an Inner Blocks Area in Your Custom Gutenberg Block.
If you need a custom block plugin built properly from the start, with clean registration and fast asset loading, you can get in touch.
Share this article