
Learn how to create a custom block plugin for WordPress. Covers plugin structure, registration, build process, and best practices for shipping a production-ready block plugin.
Building a custom Gutenberg block as part of a theme is one thing. Building it as a standalone plugin is another — and for most real-world projects, the plugin approach is the right one.
A block plugin is independent of the active theme. Install it on any WordPress site and the blocks are available immediately. Switch themes and the blocks keep working. This is the correct architecture for custom blocks that need to be portable, reusable across multiple sites, or distributed to clients.
This post covers how to structure, build, and ship a production-ready custom block plugin.
Why a Plugin Instead of a Theme
When you register a custom block inside a theme, that block is only available when that theme is active. If the client ever switches themes — even temporarily — the blocks disappear and any content using them breaks.
A block plugin solves this cleanly. The blocks live in the plugin, completely independent of the theme. The theme handles design. The plugin handles functionality. This separation is cleaner architecturally and much safer for clients who might change their theme down the line.
Block plugins are also the right choice when you want to reuse the same blocks across multiple client sites, when you are building blocks for distribution on WordPress.org, or when the blocks contain functionality that should persist regardless of which theme is active.
Scaffolding the Plugin
The fastest way to get started is with @wordpress/create-block. Navigate to your WordPress plugins directory and run:
npx @wordpress/create-block my-block-plugin
cd my-block-plugin
npm start
This generates a complete, production-ready plugin structure with a build process already configured.
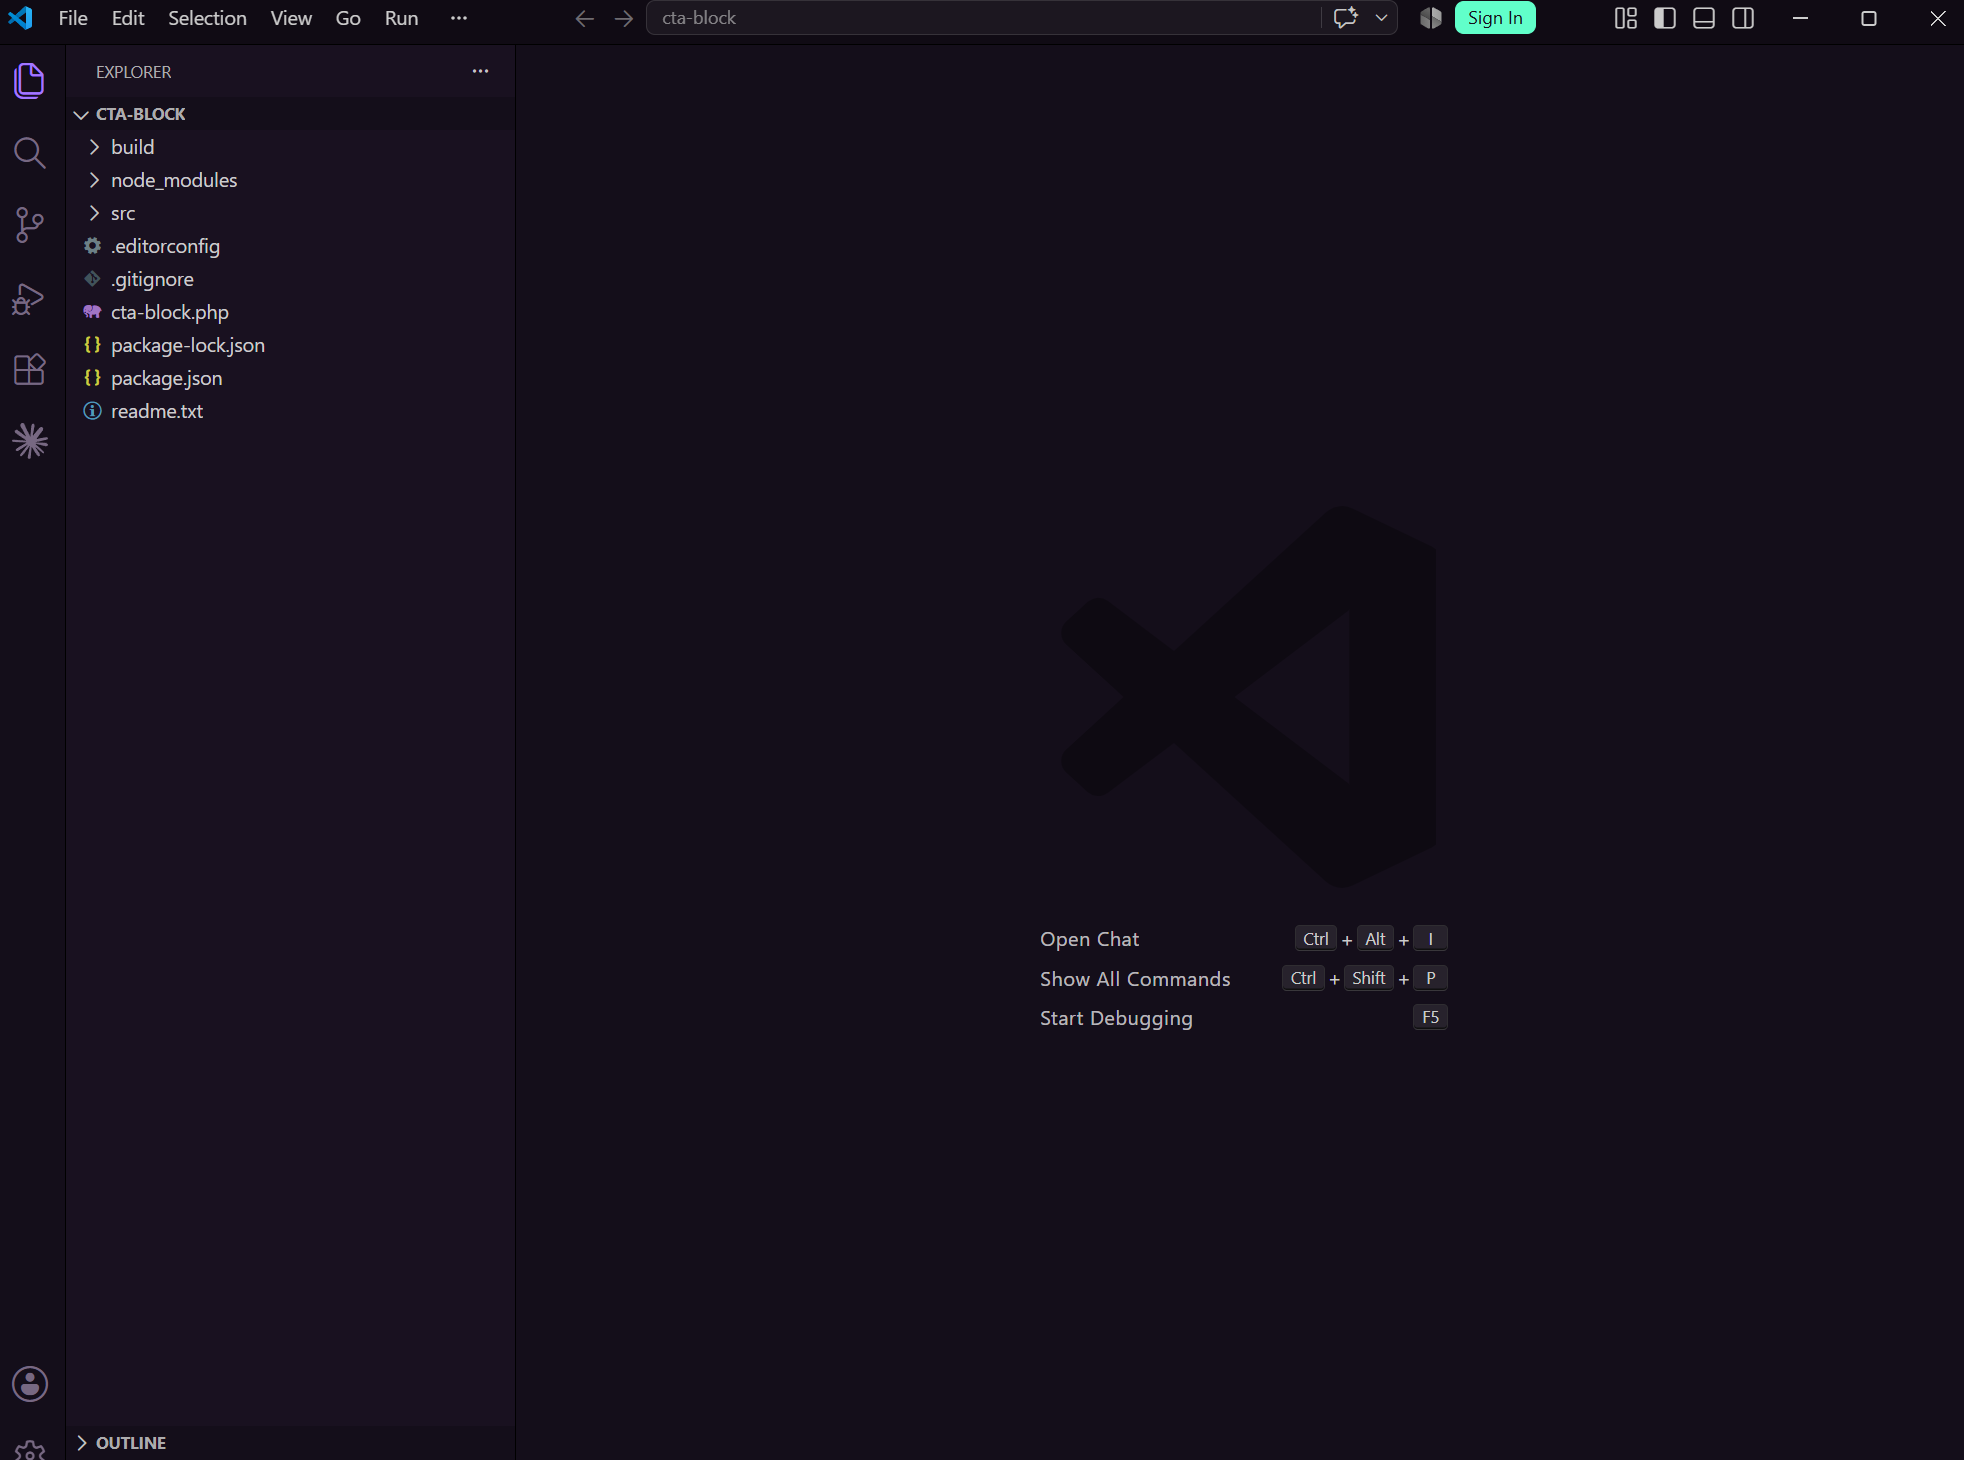
The Plugin File Structure
my-block-plugin/
├── build/               # Compiled assets — never edit these directly
├── node_modules/        # Dependencies — excluded from version control
├── src/
│   ├── block.json       # Block metadata and attributes
│   ├── edit.js          # Editor view component
│   ├── save.js          # Frontend output component
│   ├── index.js         # Block registration entry point
│   ├── editor.scss      # Editor-only styles
│   └── style.scss       # Frontend and editor styles
├── .editorconfig
├── .gitignore
├── my-block-plugin.php  # Plugin entry point
├── package.json
└── readme.txt
The src/ directory is where you write your code. The build/ directory is where the compiled output goes — you never edit files in build/ directly. Your plugin header and block registration live in the main PHP file.
The Plugin Header
The main PHP file is what makes WordPress recognise the folder as a plugin. Open my-block-plugin.php and you will see the plugin header at the top:
<?php
/**
 * Plugin Name:       My Block Plugin
 * Plugin URI:        https://yoursite.com
 * Description:       A custom Gutenberg block plugin.
 * Version:           1.0.0
 * Requires at least: 6.4
 * Requires PHP:      8.0
 * Author:            Your Name
 * Author URI:        https://yoursite.com
 * License:           GPL-2.0-or-later
 * License URI:       https://www.gnu.org/licenses/gpl-2.0.html
 * Text Domain:       my-block-plugin
 */

if ( ! defined( 'ABSPATH' ) ) {
    exit;
}

function my_block_plugin_register_blocks() {
    register_block_type( __DIR__ . '/build' );
}
add_action( 'init', 'my_block_plugin_register_blocks' );
register_block_type( __DIR__ . '/build' ) reads the block.json file from the build directory and registers the block automatically. WordPress handles script and style enqueuing, block metadata, and attribute registration from that single call.
The if ( ! defined( 'ABSPATH' ) ) { exit; } check prevents the file from being accessed directly outside WordPress. Always include this on every PHP file in your plugin.
The block.json File
block.json is the most important file in your block. It defines everything WordPress needs to know about the block — its name, title, category, attributes, and which scripts and styles to load.
{
  "$schema": "https://schemas.wp.org/trunk/block.json",
  "apiVersion": 3,
  "name": "my-block-plugin/hero",
  "version": "1.0.0",
  "title": "Hero Block",
  "category": "design",
  "icon": "cover-image",
  "description": "A full-width hero block with heading, subtext and button.",
  "keywords": ["hero", "banner", "header"],
  "textdomain": "my-block-plugin",
  "supports": {
    "html": false,
    "align": ["wide", "full"],
    "spacing": {
      "padding": true,
      "margin": true
    }
  },
  "attributes": {
    "heading": {
      "type": "string",
      "default": "Welcome to our site"
    },
    "subtext": {
      "type": "string",
      "default": "A short description of what you offer."
    },
    "buttonText": {
      "type": "string",
      "default": "Get Started"
    },
    "buttonUrl": {
      "type": "string",
      "default": "#"
    }
  },
  "editorScript": "file:./index.js",
  "editorStyle": "file:./index.css",
  "style": "file:./style-index.css"
}
A few things worth noting. The block name follows the namespace/block-name convention — always use your plugin's unique namespace to avoid conflicts with other plugins. supports controls which built-in block features are available — alignment controls, spacing controls, HTML editing. Setting "html": false prevents editors from switching to HTML view and breaking the block's structure.
Adding Multiple Blocks to One Plugin
A single plugin can contain multiple blocks. This is the right approach when blocks are related and belong together — a hero block, a features grid block, and a testimonial block that all share the same design system.
To add a second block, create a new subdirectory inside src/:
src/
├── hero/
│   ├── block.json
│   ├── edit.js
│   ├── save.js
│   └── index.js
├── features/
│   ├── block.json
│   ├── edit.js
│   ├── save.js
│   └── index.js
└── index.js   # Imports both blocks
The root src/index.js imports both blocks:
import './hero';
import './features';
And register each block separately in PHP:
function my_block_plugin_register_blocks() {
    register_block_type( __DIR__ . '/build/hero' );
    register_block_type( __DIR__ . '/build/features' );
}
add_action( 'init', 'my_block_plugin_register_blocks' );
Each block has its own block.json, its own edit.js and save.js, and its own compiled assets in the build directory.
The Build Process
@wordpress/scripts handles the entire build process. Two commands are all you need:
npm start        # Development build with file watching
npm run build    # Production build — minified, optimised
During development, npm start watches your src/ files and recompiles on every save. The compiled output goes to build/ automatically.
Before deploying or sharing the plugin, always run npm run build. This produces minified, optimised assets suitable for production. Never deploy a plugin with development builds.
What to Exclude from Version Control
Your .gitignore should exclude:
/node_modules
/build
node_modules is always excluded — it is installed from package.json on any machine. Whether to exclude build depends on your deployment workflow. If you are deploying via Git, include build in version control so the compiled assets are available on the server without running a build step there. If you have a build step in your deployment pipeline, exclude it.
Deploying the Plugin to a Client Site
When deploying to a client site, the plugin needs to be in a deployable state — compiled build assets included, node_modules excluded.
The simplest deployment approach is to run npm run build locally, zip the plugin directory excluding node_modules, and upload via WordPress admin or SFTP.
npm run build
cd ..
zip -r my-block-plugin.zip my-block-plugin --exclude "my-block-plugin/node_modules/*"
If you manage client sites with a deployment tool like DeployHQ, Buddy, or GitHub Actions, you can automate the build step as part of the deployment pipeline so compiled assets are always up to date.
Version Control Best Practices
A few habits that make block plugin development significantly cleaner over time:
Use semantic versioning — 1.0.0, 1.1.0, 2.0.0. Increment the major version when you make changes to save.js that break existing block markup in the database. WordPress will flag a block validation error if the saved output does not match what save.js currently produces.
Keep a changelog. Even a simple CHANGELOG.md documenting what changed between versions saves time when debugging issues on client sites.
Never rename a block after it has been used on a live site. The block name in block.json is stored in the database with every block instance. Changing it orphans every existing instance.
The Bottom Line
A custom block plugin is the cleanest way to deliver bespoke Gutenberg blocks to a WordPress site. The blocks are theme-independent, portable, and maintainable. The structure generated by @wordpress/create-block gives you everything you need to build, test, and ship a production-ready plugin without configuring a build process from scratch.
Build the block once. Deploy it anywhere.
Need a custom block plugin built for your WordPress project? Get in touch.
Share this article