
Learn how to use InnerBlocks in your custom Gutenberg block to allow nested blocks, control allowed block types and set default templates.
One of the most powerful features of the Gutenberg block editor is the ability to nest blocks inside other blocks. A group block contains other blocks. A columns block contains column blocks. Each column contains whatever blocks the editor wants to put inside it.
You can do the same thing in your custom blocks using InnerBlocks. This is how you build container blocks — layouts, cards, sections — that give editors flexibility without breaking your design.
What InnerBlocks Does
InnerBlocks is a React component from the @wordpress/block-editor package. When you render it inside your block's edit function, it creates a drop zone where editors can insert any block they want. In the save function, InnerBlocks.Content outputs whatever blocks were placed inside.
The result is a block that acts as a container. Editors work inside it using the same block inserter they use everywhere else. You control the outer structure. They control the inner content.
Basic Implementation
Start with a block scaffolded with @wordpress/create-block. The key changes happen in edit.js and save.js.
edit.js:
import { useBlockProps, InnerBlocks } from '@wordpress/block-editor';

export default function Edit() {
  const blockProps = useBlockProps({
    className: 'my-container-block',
  });

  return (
    <div { ...blockProps }>
      <InnerBlocks />
    </div>
  );
}
save.js:
import { useBlockProps, InnerBlocks } from '@wordpress/block-editor';

export default function Save() {
  const blockProps = useBlockProps.save({
    className: 'my-container-block',
  });

  return (
    <div { ...blockProps }>
      <InnerBlocks.Content />
    </div>
  );
}
That is the minimum. Your block now accepts any other block as a child. The editor can drop in paragraphs, images, headings, buttons — anything.
Restricting Allowed Blocks
Most of the time you do not want to allow every block inside your container. A card block probably only needs a heading, an image and a paragraph. A pricing table row only needs specific blocks.
Use the allowedBlocks prop to restrict what can be inserted:
const ALLOWED_BLOCKS = [
  'core/heading',
  'core/paragraph',
  'core/image',
  'core/buttons',
];

export default function Edit() {
  const blockProps = useBlockProps();

  return (
    <div { ...blockProps }>
      <InnerBlocks
        allowedBlocks={ ALLOWED_BLOCKS }
      />
    </div>
  );
}
Now when an editor clicks inside your block, only those four block types appear in the inserter. Everything else is hidden. This prevents editors from putting a table or a video embed inside a card block that was never designed to hold them.
Setting a Default Template
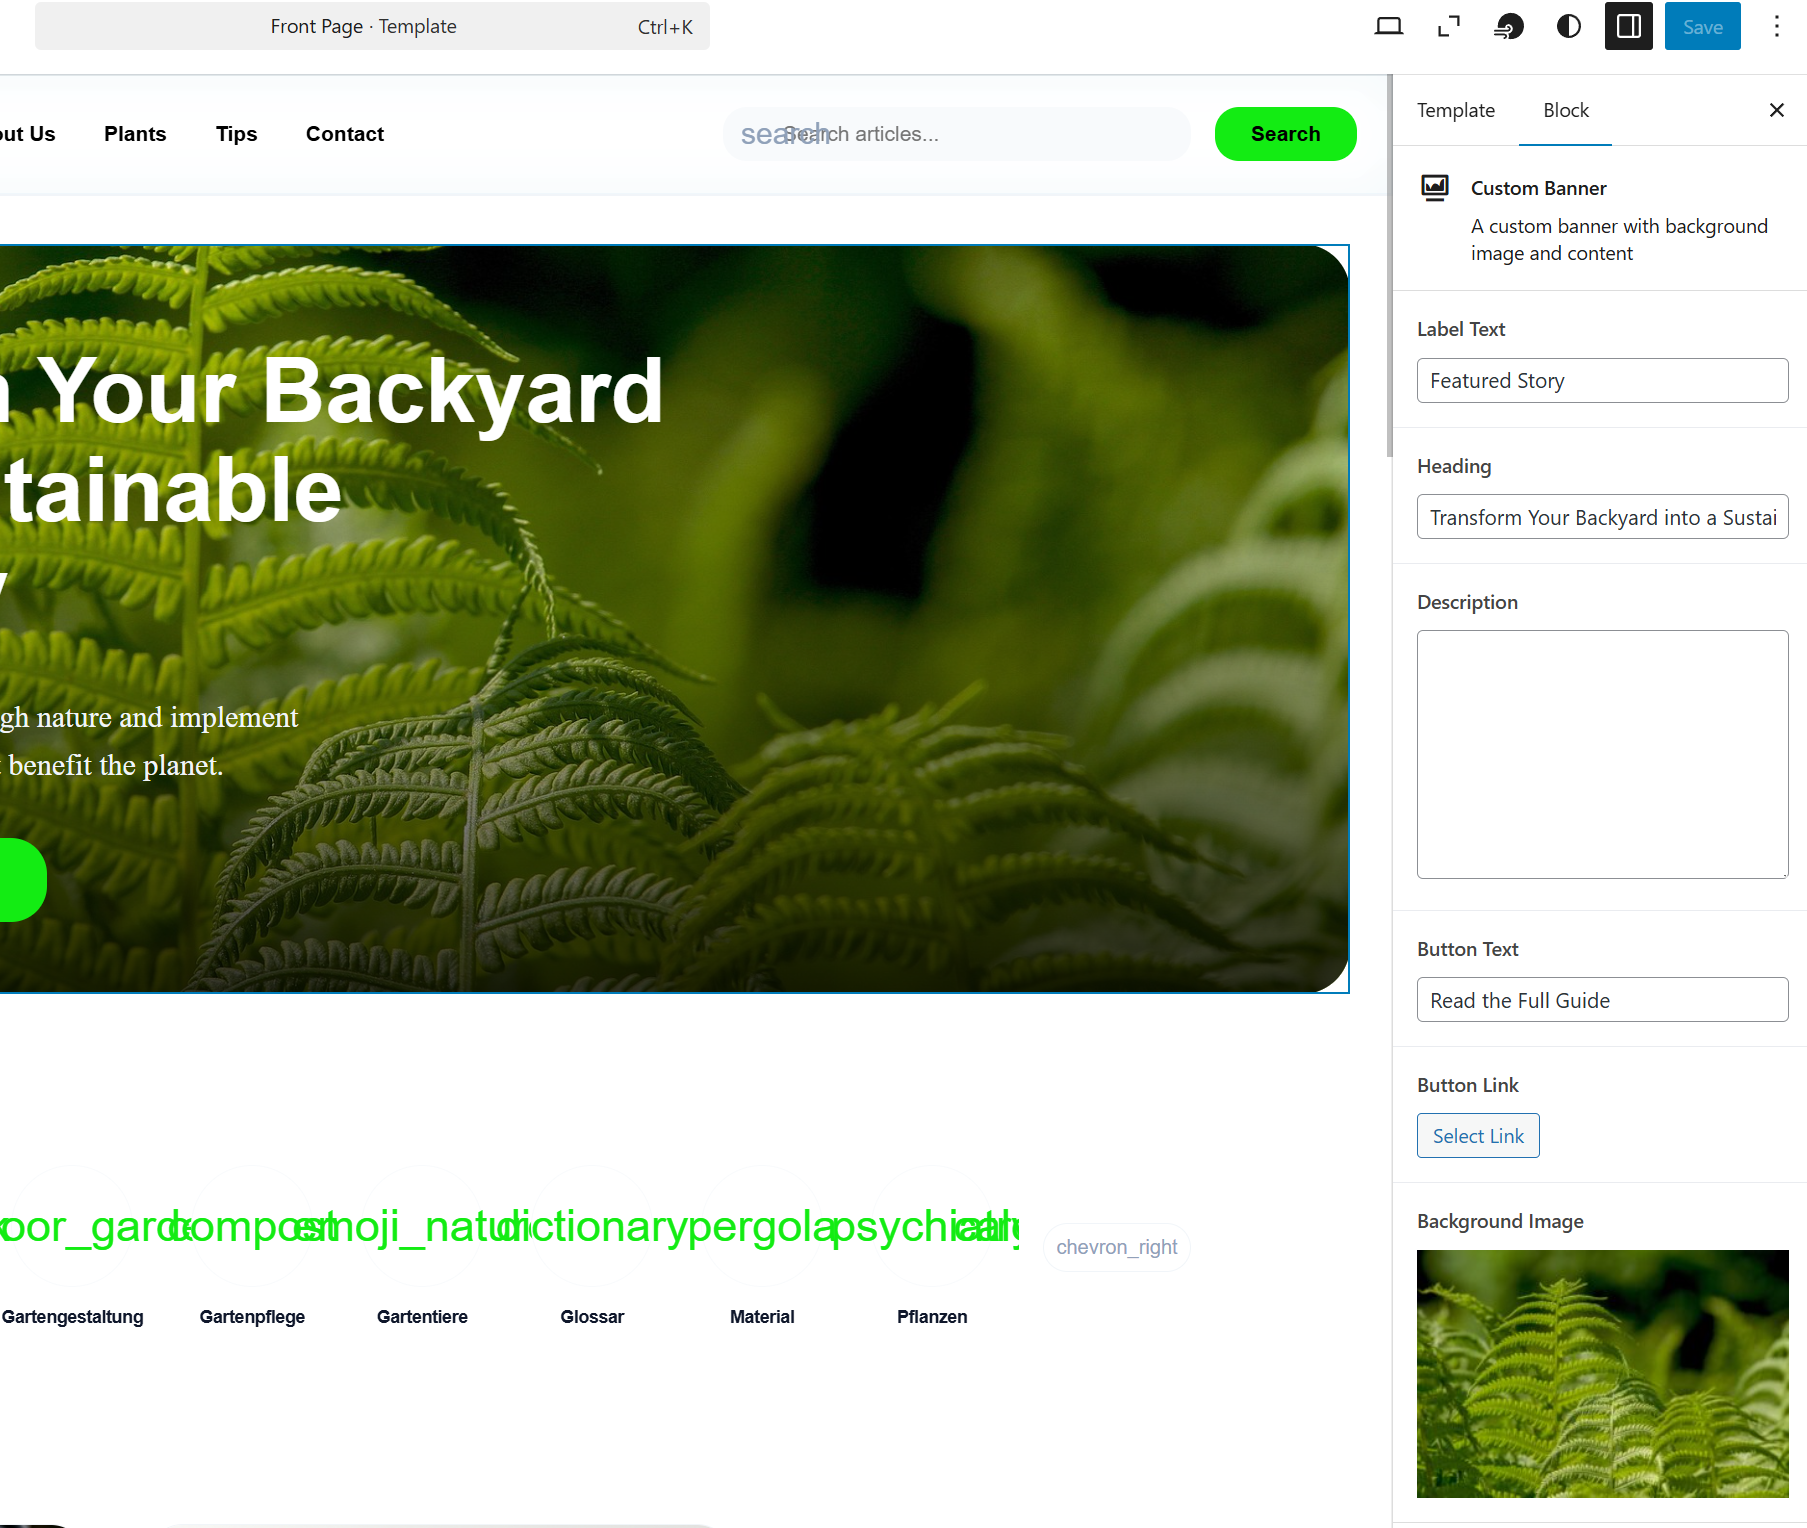
A default template pre-populates the inner blocks area when the block is first inserted. Instead of an empty container, the editor sees a ready-made layout they can edit straight away.
const TEMPLATE = [
  [ 'core/heading', { level: 3, placeholder: 'Card title' } ],
  [ 'core/paragraph', { placeholder: 'Write a short description here...' } ],
  [ 'core/buttons', {},
    [
      [ 'core/button', { text: 'Learn more' } ],
    ]
  ],
];

export default function Edit() {
  const blockProps = useBlockProps();

  return (
    <div { ...blockProps }>
      <InnerBlocks
        allowedBlocks={ ALLOWED_BLOCKS }
        template={ TEMPLATE }
      />
    </div>
  );
}
Each item in the template array is a block definition: block name, attributes, and optionally inner blocks of its own. The placeholder text appears in the editor as a prompt. When the editor types, it replaces the placeholder.
Locking the Template
By default, editors can delete the template blocks and add new ones freely. If you want the template structure to be fixed — the heading, paragraph and button are always there and cannot be removed or reordered — use templateLock.
<InnerBlocks
  allowedBlocks={ ALLOWED_BLOCKS }
  template={ TEMPLATE }
  templateLock="all"
/>
templateLock="all" prevents adding, removing or moving blocks inside the container. Editors can only edit the content of the template blocks.
templateLock="insert" allows moving blocks but prevents adding or removing them.
Use locking carefully. It gives you more control over the design but reduces editorial flexibility. For a card block used across a homepage, locking makes sense. For a general content container, it probably does not.
The Block File Structure
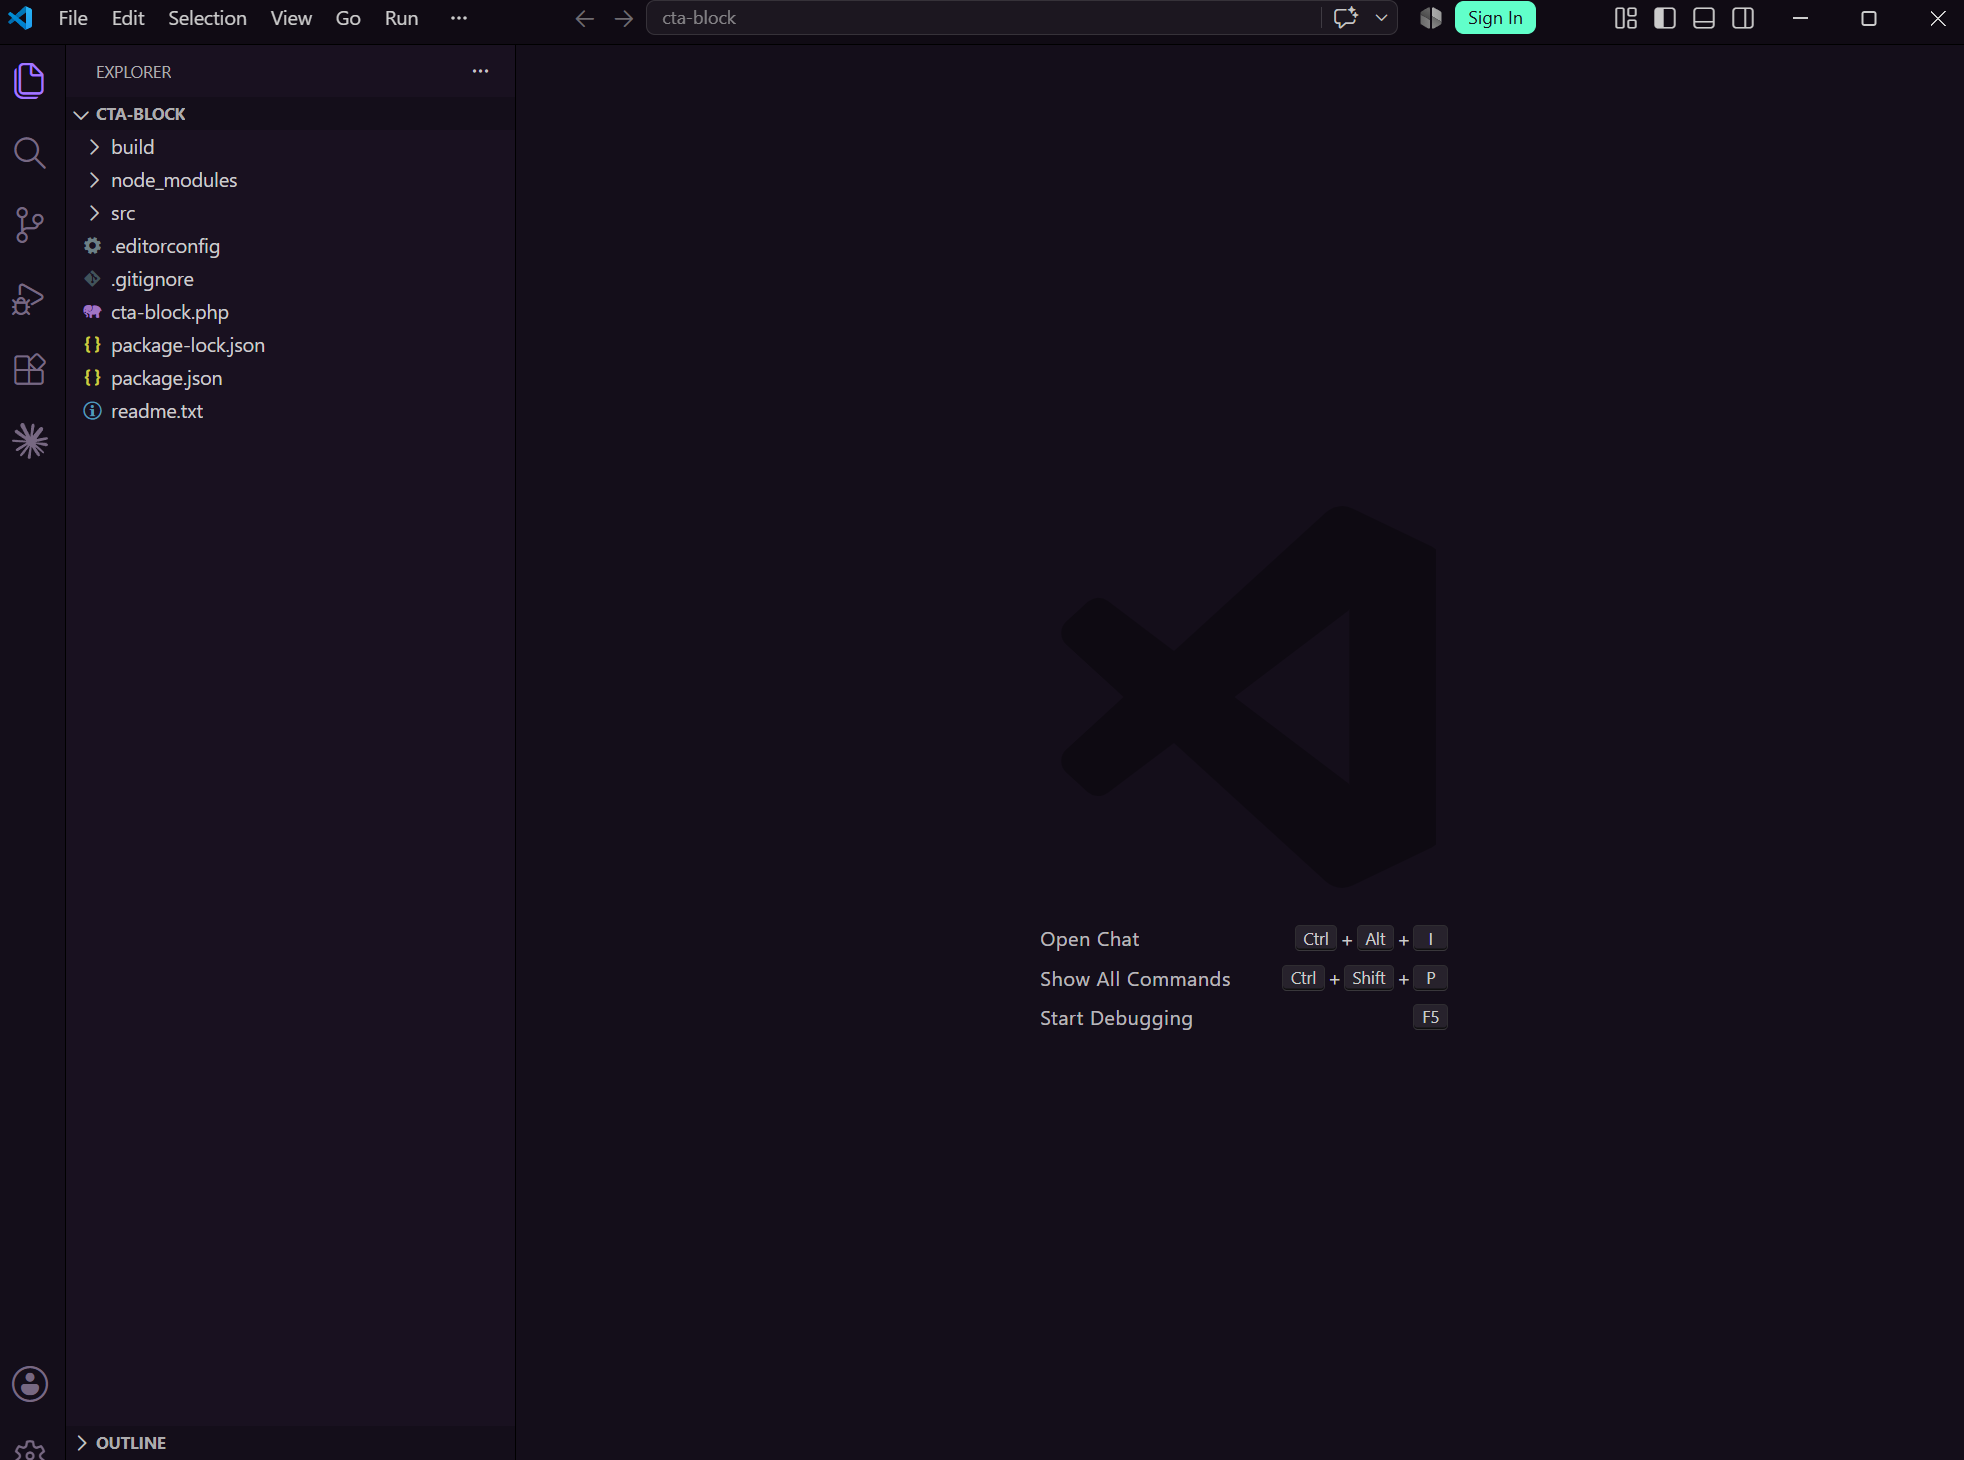
A block using InnerBlocks needs one additional line in block.json to tell WordPress that it supports inner blocks. Without this, the block will work in the editor but the saved content may not render correctly on the frontend.
In block.json, make sure your usesContext or providesContext is set appropriately if you need to pass data between parent and child blocks. For most inner blocks use cases you do not need this — the default setup works.
The important thing is that InnerBlocks.Content in your save function handles serialising the child blocks. You do not need to do anything special. WordPress takes care of storing and rendering the nested block structure.
When to Use InnerBlocks
Use InnerBlocks when you are building a layout container — a section with a background, a card, a two-column layout, a call to action with flexible content inside. Any block where the outer structure is fixed but the inner content should be editable.
Do not use InnerBlocks for blocks with simple, predictable content. A testimonial block with a fixed quote, author name and photo does not need inner blocks — those are better as block attributes. InnerBlocks is for genuine nesting where the editor needs to build content inside your structure.
Getting this distinction right keeps your blocks purposeful and your editing experience clean.
Share this article