
Learn how to register custom block patterns in WordPress using both PHP and theme.json. A practical guide for WordPress developers building FSE themes and custom blocks.
Block patterns are one of the most underused features in modern WordPress development. They let you define reusable groups of blocks — a hero section, a testimonial layout, a call to action — that editors can insert with a single click directly from the block inserter.
Once you understand how to register them, they become an essential part of every FSE theme and custom block project. This guide covers both registration methods — PHP and theme.json — so you can choose the right approach for your project.
What Block Patterns Actually Are
A block pattern is a predefined arrangement of blocks saved as a reusable template. Unlike synced patterns (formerly called reusable blocks) that update everywhere when edited, standard block patterns are inserted as a fresh copy each time. Editors can customise them freely after insertion without affecting other instances.
Patterns appear in the block inserter under the Patterns tab, organised by category. They can contain any combination of core blocks, custom blocks, and nested layouts.
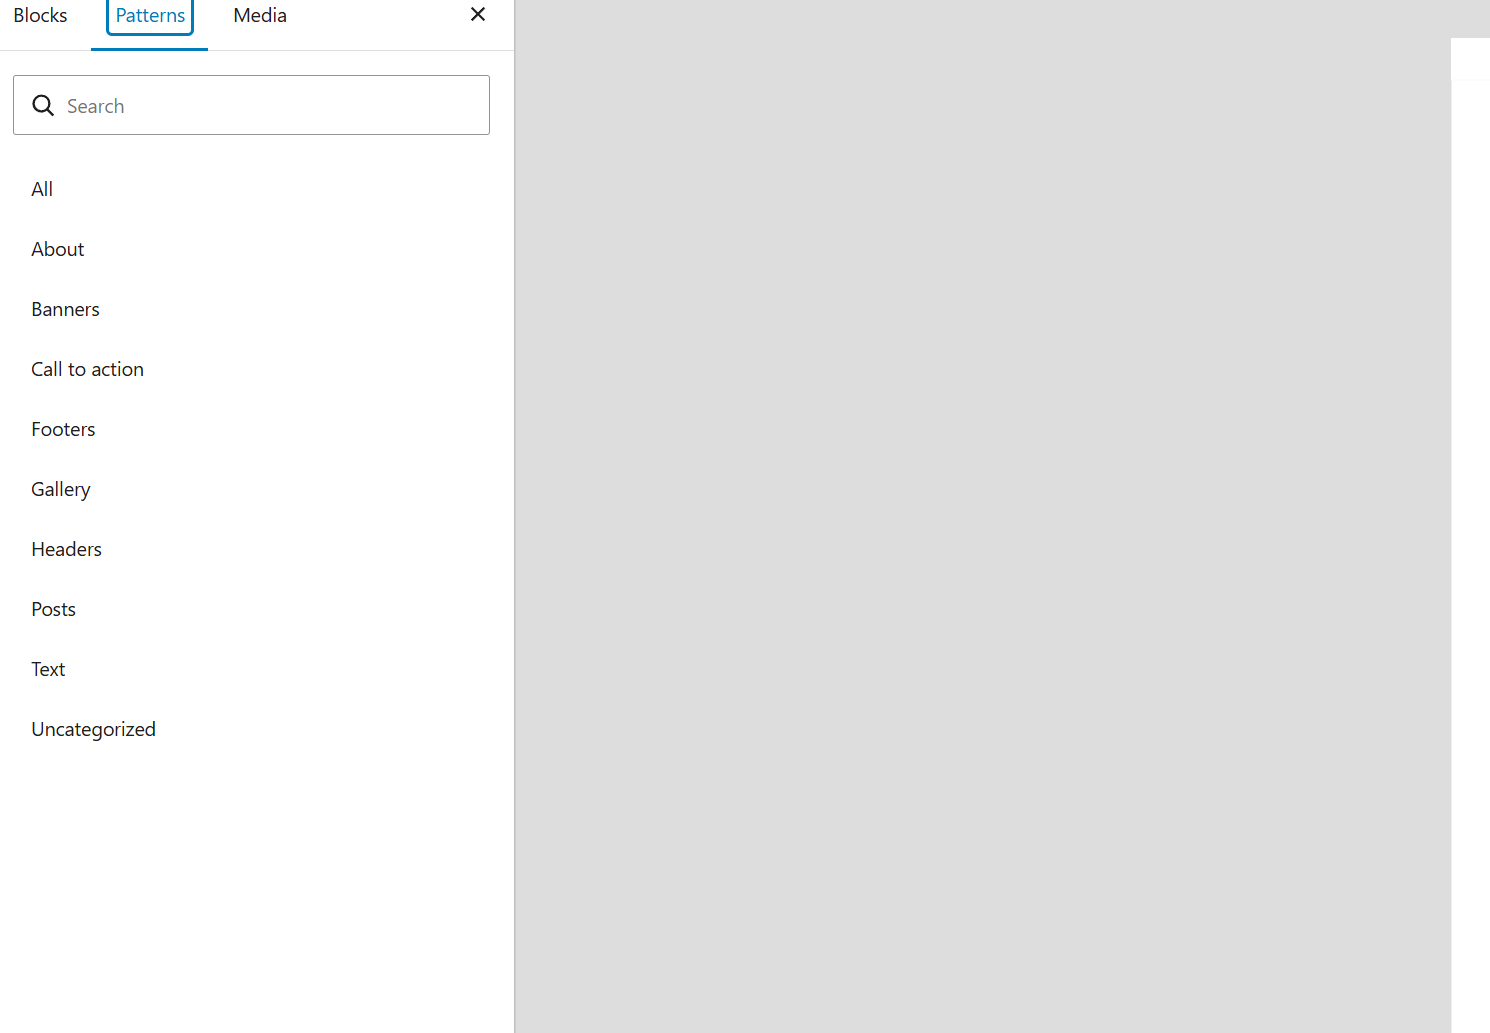
This is what a well-organised pattern library looks like from the editor's perspective. Each category groups related patterns — headers, footers, call to action sections, gallery layouts. Editors browse and insert without touching code.
Method 1: Registering Patterns via PHP
The PHP method gives you the most control and works with both classic themes and FSE themes. You register patterns using register_block_pattern() in your functions.php file or a dedicated patterns file.
Registering a Pattern Category
Before registering patterns, register a custom category to group them under:
function mytheme_register_pattern_categories() {
    register_block_pattern_category(
        'mytheme',
        array( 'label' => __( 'My Theme', 'mytheme' ) )
    );
}
add_action( 'init', 'mytheme_register_pattern_categories' );
Registering a Simple CTA Pattern
function mytheme_register_patterns() {
    register_block_pattern(
        'mytheme/cta-centered',
        array(
            'title'       => __( 'Centered Call to Action', 'mytheme' ),
            'description' => __( 'A centered heading, description, and button.', 'mytheme' ),
            'categories'  => array( 'mytheme', 'call-to-action' ),
            'keywords'    => array( 'cta', 'call to action', 'button' ),
            'content'     => '<!-- wp:group {"layout":{"type":"constrained"}} -->
<div class="wp-block-group">
    <!-- wp:heading {"textAlign":"center","level":2} -->
    <h2 class="wp-block-heading has-text-align-center">Ready to get started?</h2>
    <!-- /wp:heading -->

    <!-- wp:paragraph {"align":"center"} -->
    <p class="has-text-align-center">Get in touch and let us build something great together.</p>
    <!-- /wp:paragraph -->

    <!-- wp:buttons {"layout":{"type":"flex","justifyContent":"center"}} -->
    <div class="wp-block-buttons">
        <!-- wp:button -->
        <div class="wp-block-button">
            <a class="wp-block-button__link wp-element-button">Contact Us</a>
        </div>
        <!-- /wp:button -->
    </div>
    <!-- /wp:buttons -->
</div>
<!-- /wp:group -->',
        )
    );
}
add_action( 'init', 'mytheme_register_patterns' );
The content property is the raw block markup — the same HTML comment syntax WordPress uses to store blocks in the database. The easiest way to get this markup is to build the layout you want in the block editor, switch to the Code Editor view (Options → Code editor), and copy the output.
The register_block_pattern Arguments
title — The name shown in the block inserter. Keep it short and descriptive.
description — A longer description shown on hover in the inserter. Optional but helpful for editors.
categories — An array of category slugs the pattern appears under. You can assign a pattern to multiple categories.
keywords — An array of search terms that surface the pattern when editors type in the inserter search box.
content — The raw block markup. This is the only required argument alongside title.
viewportWidth — Optional integer that sets the preview width in the inserter. Defaults to 1200. Set lower for patterns designed for narrow layouts.
blockTypes — Optional array of block names. When set, the pattern appears as a suggested pattern when inserting that specific block type.
Method 2: Registering Patterns via theme.json
For FSE themes, the cleaner approach is to register patterns as PHP files inside a patterns/ directory in your theme. WordPress discovers them automatically — no register_block_pattern() call needed.
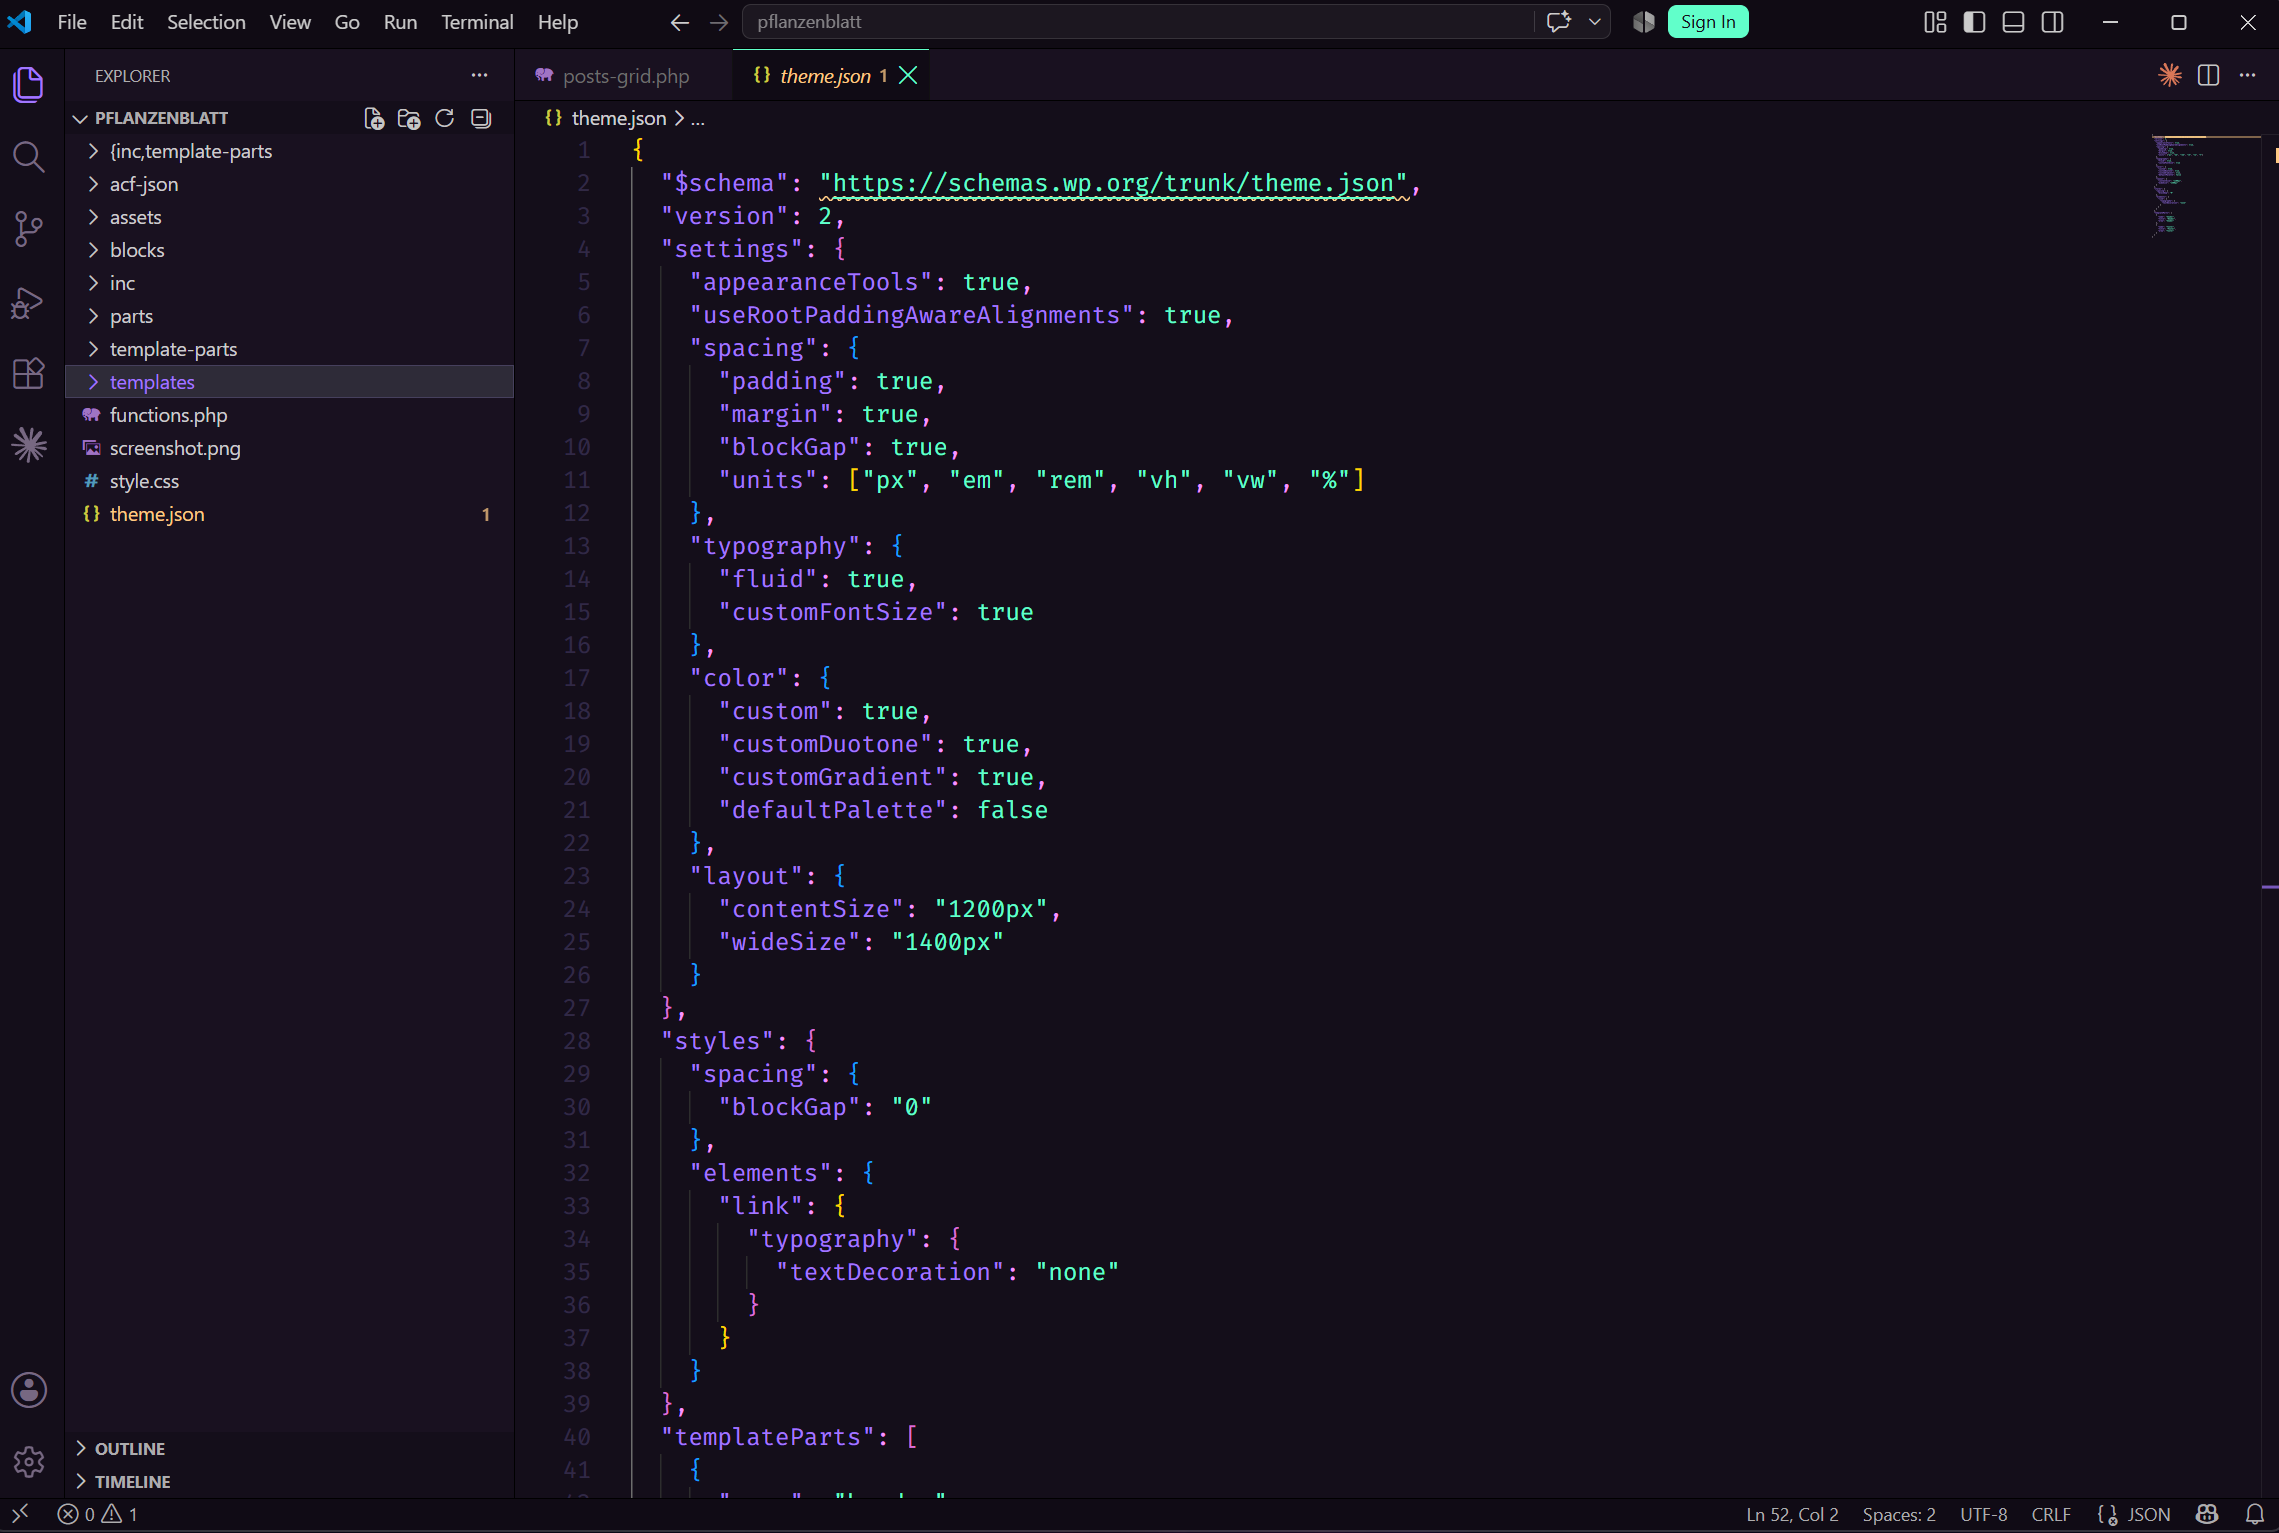
The File Structure
Create a patterns/ directory in your theme root:
mytheme/
├── patterns/
│   ├── cta-centered.php
│   ├── hero-split.php
│   └── testimonial-grid.php
├── templates/
├── parts/
├── theme.json
└── functions.php
Pattern File Structure
Each pattern file is a PHP file with a header comment that registers the pattern metadata, followed by the block markup:
<?php
/**
 * Title: Centered Call to Action
 * Slug: mytheme/cta-centered
 * Description: A centered heading, description, and button.
 * Categories: call-to-action, mytheme
 * Keywords: cta, call to action, button
 * Viewport Width: 1200
 */
?>

<!-- wp:group {"layout":{"type":"constrained"}} -->
<div class="wp-block-group">
    <!-- wp:heading {"textAlign":"center","level":2} -->
    <h2 class="wp-block-heading has-text-align-center">Ready to get started?</h2>
    <!-- /wp:heading -->

    <!-- wp:paragraph {"align":"center"} -->
    <p class="has-text-align-center">Get in touch and let us build something great together.</p>
    <!-- /wp:paragraph -->

    <!-- wp:buttons {"layout":{"type":"flex","justifyContent":"center"}} -->
    <div class="wp-block-buttons">
        <!-- wp:button -->
        <div class="wp-block-button">
            <a class="wp-block-button__link wp-element-button">Contact Us</a>
        </div>
        <!-- /wp:button -->
    </div>
    <!-- /wp:buttons -->
</div>
<!-- /wp:group -->
WordPress reads the header comment and registers the pattern automatically on theme activation. No additional PHP required.
This approach is cleaner for FSE themes because pattern files live alongside your templates and template parts in a logical directory structure. Each pattern is its own file, easy to find and edit.
Which Method to Use
Use PHP registration via register_block_pattern() when you are working with a classic theme, building a plugin that provides patterns independently of a theme, or need to register patterns conditionally based on logic.
Use the patterns/ directory approach when you are building an FSE theme. It is cleaner, requires less code, and keeps your patterns organised alongside your templates.
Getting the Block Markup
The hardest part of writing patterns is getting the block markup right. The easiest workflow:
Build the layout you want in the Gutenberg editor using the visual interface. Click Options (the three dots top right) and select Code editor. Copy all the block markup. Paste it into your pattern file or register_block_pattern() content string.
This guarantees the markup is valid and matches exactly what the editor will render. Never write block markup by hand from scratch — always start from the editor's output.
Using Theme Design Tokens in Patterns
Patterns work best when they use your theme's design tokens rather than hardcoded values. This means using CSS custom properties generated by theme.json for colors, font sizes, and spacing:
<!-- wp:group {"backgroundColor":"primary","layout":{"type":"constrained"}} -->
<div class="wp-block-group has-primary-background-color has-background">
    <!-- wp:heading {"textAlign":"center","textColor":"background","fontSize":"x-large"} -->
    <h2 class="wp-block-heading has-text-align-center has-background-color has-text-color has-x-large-font-size">
        Ready to get started?
    </h2>
    <!-- /wp:heading -->
</div>
<!-- /wp:group -->
The class names like has-primary-background-color and has-x-large-font-size reference the slugs defined in your theme.json color palette and font size scale. When a client changes their primary color in Global Styles, every pattern using that color updates automatically.
The Result
Once registered, your patterns appear immediately in the block inserter under the Patterns tab. Editors can browse by category, search by keyword, preview before inserting, and customise freely after insertion.
For clients who need to build new pages without developer help, a well-designed pattern library is one of the most valuable things you can deliver. It gives them the flexibility of a page builder with the performance and maintainability of native Gutenberg.
Building a custom FSE theme or Gutenberg block library for your project? Get in touch.
Share this article